How to properly translate Genesis Sample or other Genesis framework based WordPress themes
There are various ways to translate WordPress themes and plugins, and WordPress core itself. For example – Loco translate plugin. But if you want to have your WordPress installation and admin panel as clean as possible, you probably don’t want to add yet another plugin and another rarely used links to already crowded WordPress admin.
Today I’ll show you how to translate Genesis Sample theme, and Genesis Framework itself without adding any additional tools to WordPress admin. You’ll be able to translate all the phrases like “Next Page”, “Previous Page”, “Read more” and every other strings you may come up with when using Genesis Sample or other Genesis themes.
How to translate Genesis framework based themes without any WordPress plugins
At first you should know that Genesis child themes and main Genesis theme usually have two different language files:
Genesis Sample language files are located in /wp-content/themes/genesis-sample/languages/ folder. By default folder contains genesis-sample.pot file, and this file only covers translation strings for phrases you’ll find in admin panel. Like strings in WordPress Customizer.
Main Genesis language files are located in /wp-content/themes/genesis/lib/languages/ folder. Bydefault folder contains file genesis.pot. It covers all the rest of the translations, including most popular Next Page, Previous Page, Read more and other phrases.
If you want to translate any of these files without cluttering WordPress admin panel with additional plugins you need to download these files using FTP client like Filezilla, or using your server admin panel (Cpanel, DirectAdmin) tool File Manager.
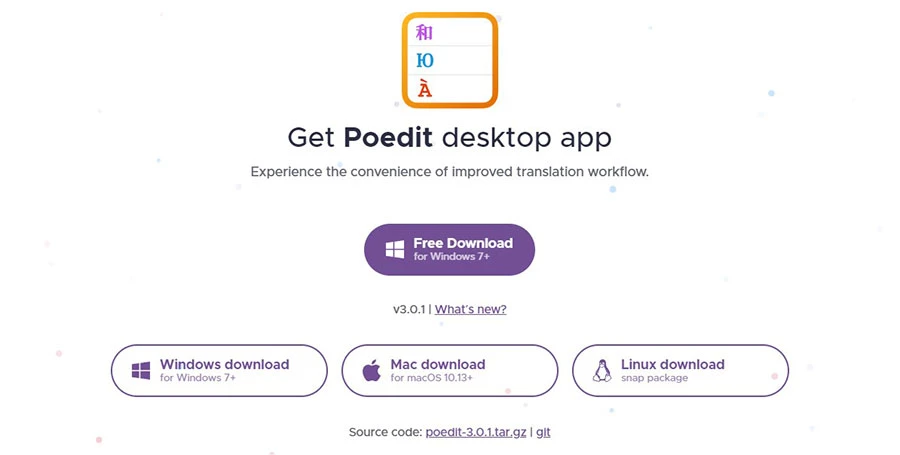
After you download those files in your computer you’ll need Poedit desktop app. Poedit is free WordPress language editor app. Download Poedit, and install it to your computer.
Once you install Poedit, open one of the .pot files you downloaded from your server previously. Here’s the example from genesis.pot file opened in Poedit:
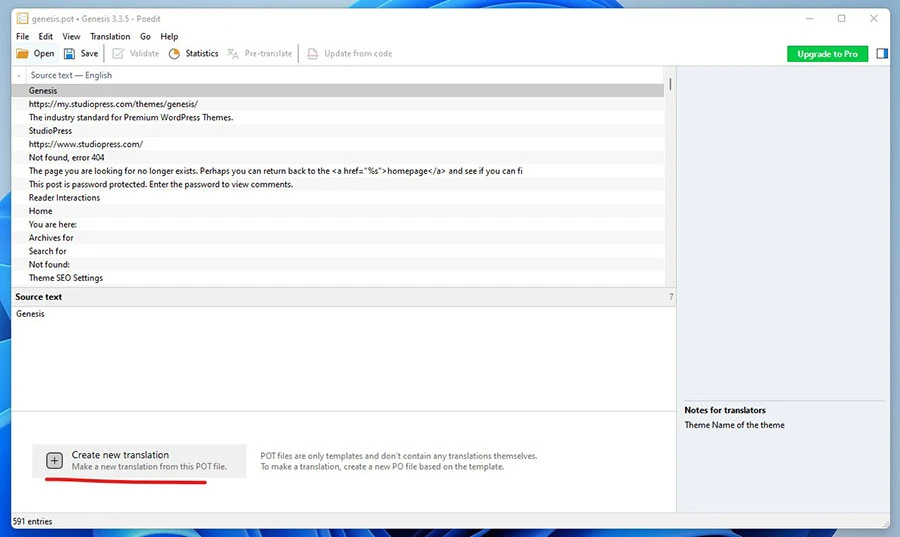
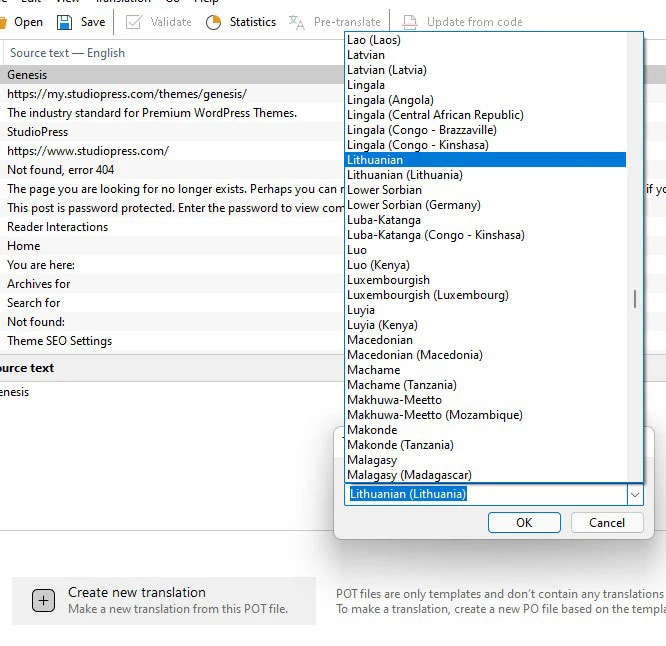
To start translating .pot file click Create new translation, select the language you want to translate Genesis language file to, and click OK.
At the top of Poedit window you’ll see original text (Source text) and and Translation in your selected language. To add a new translation select the source text you want to translate.
If you want to find specific phrases faster you may use Find tool – enter CTRL+F or click on Edit >> Find in the app menu.

To add a new translation you just need to select the string you want to translate, and fill Translation field art the bottom.
Once you finish translation don’t forget to save changes. Poedit will generate two translation files to the same folder where the .pot file was opened from.
Upload those two files to your WordPress installation server – to the same folder where you downloaded the original .pot file from:
if you created new translation for genesis framework language file, upload .mo and .po translation files to /wp-content/themes/genesis/lib/languages/ folder.
if you created new translation for Genesis Sample theme, save .po and .mo files to /wp-content/themes/genesis-sample/languages/ folder.

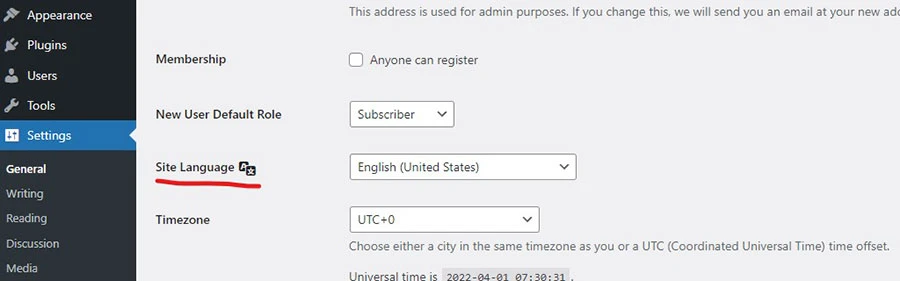
Now to start using the translations you need to set the same language in your WordPress website. Go to Settings >> General, and select the same Site language as you used in Poedit.
That’s it – your new Genesis translations should be shown for website visitors.